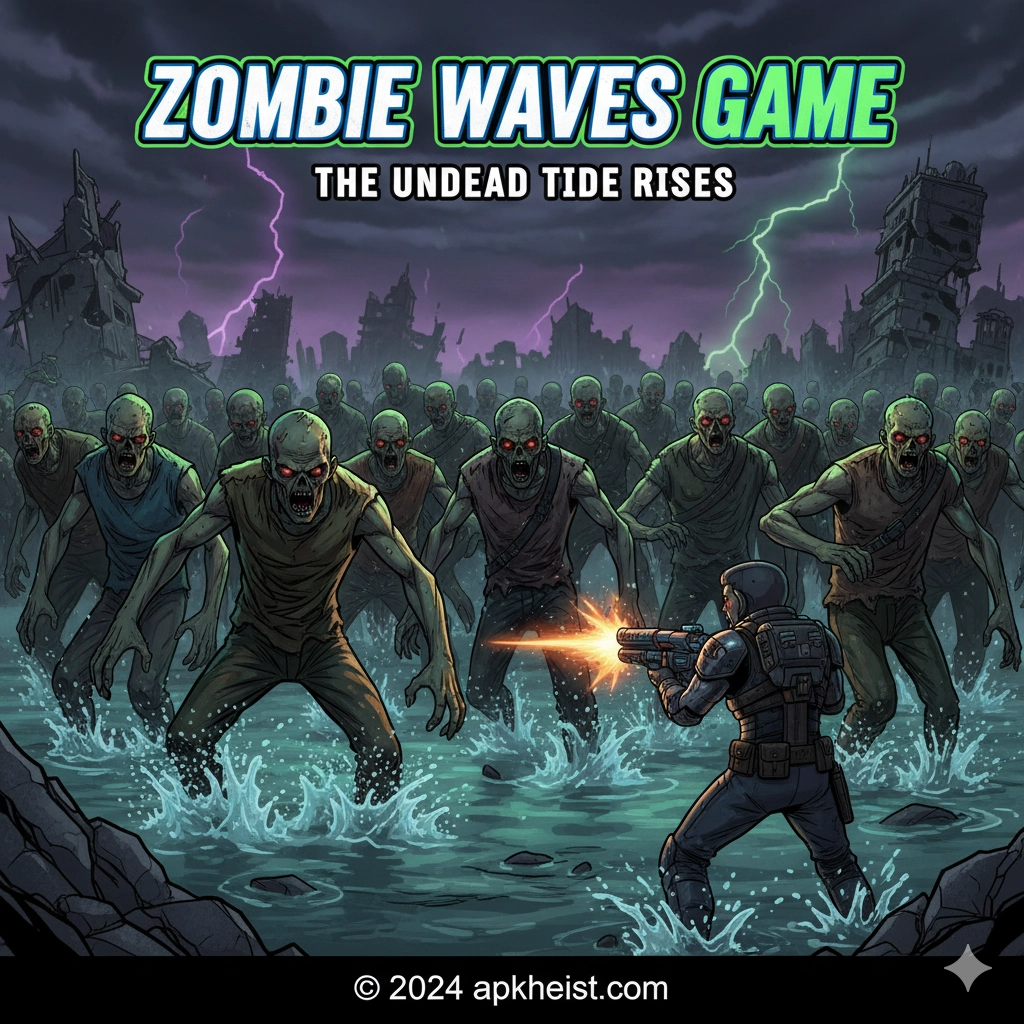
Long intro: In Zombie Waves Game, players face relentless waves of zombies that grow tougher with each round. Success blends quick aiming, strategic positioning, and smart upgrades. Whether you prefer solo runs or coordinated team play, understanding enemy types, weapon synergies, map control, and economy pacing is essential. This guide breaks the game into actionable sections: core mechanics, map tactics, weapon choices, progression advice, advanced strategies, and common pitfalls — followed by practical FAQs to answer the questions players ask most often.
Contents / Quick links — click to jump:
5. Economy & Upgrade Priorities
7. Advanced Strategies & Endgame
1. Core Mechanics
Zombie Waves Game revolves around rounds that incrementally increase in difficulty. Each wave spawns a selection of zombie types determined by the stage, and the player or team must eliminate them within a time window or prevent them from breaching objectives. Core mechanics you must master include aiming and recoil control, hitbox prioritization (headshots count), stamina or movement trade-offs, and the respawn/penalty system. The game typically gives you a limited pool of currency per wave to spend on weapons, armor, and temporary items; how you allocate that pool is often the difference between surviving mid-game and collapsing to a single heavy enemy.
Understanding the timing of waves matters: some waves include break periods that allow repositioning and buying, while special waves may introduce environmental hazards (explosive barrels, limited lighting) that change the optimal tactic. Always scan the HUD for wave timers and objective markers; proactive positioning before a wave spawns reduces chaotic retreats and wasted consumables.
2. Enemy Types & Behaviors
Zombies in the game are not uniform — common walker types swarm in numbers, shufflers are slow but tanky, runners close distance quickly, and special variants (e.g., armored, spitter, exploding, or ranged infected) force you to change priorities. Learn to classify enemies at a glance: prioritize ranged threats and high-damage specials first, then thin the swarm with area damage. Certain enemies have unique triggers (e.g., spawners or shriekers that call reinforcements), and ignoring these triggers will multiply your problems exponentially.
Behavior patterns matter: many zombies pathfind around obstacles and funnel through chokepoints. If an enemy can break defensive structures or doors, assign teammates to handle them immediately. In advanced waves, mixed-type spawns test your target-switch discipline — avoid tunnel vision on a single kill if doing so allows a stronger enemy to flank your team.

3. Weapons & Loadouts
Choosing the right loadout requires balancing single-target DPS and crowd control. Primary weapons (assault rifles, shotguns) handle general waves, while secondaries (SMGs, pistols) offer mobility-friendly backup. For crowd control, prioritize a secondary or heavy weapon with area-of-effect like grenade launchers or flamethrowers. Attachments, mods, and ammo types shift roles: armor-piercing rounds are essential vs. armored zombies, incendiary rounds excel against grouped shufflers, and stun effects help neutralize high-priority specials.
Loadout synergies matter more than raw power. For example, combine a high-DPS rifle with a grenade-type support to manage both long-range threats and clustered swarms. If the game provides class-specific abilities (medic heals, engineer barricades, recon reveals), pick weapons that complement those roles rather than duplicating utility. Experiment with one primary role per player for team runs: one crowd-control, one damage-dealer, and one support typically scales best into the late waves.
Mastering Knowledge on the Go: O'Reilly Pro App Review
4. Map Control & Positioning
Map control is often decisive. Identify chokepoints you can defend indefinitely, sightlines for long-range weapons, and escape routes for when the choke collapses. Place barricades or traps to funnel zombies into kill zones. High ground provides visibility and reduces melee surprise attacks; however, high ground can be flanked if not adequately covered. Rotate proactively—if your current position becomes overwhelmed, withdraw in a controlled fashion to a pre-chosen fallback and avoid being caught in open ground.
Awareness of spawn zones is crucial: many maps spawn enemies at fixed points or behind destructible cover. Use recon abilities or scout ahead to learn those zones; clearing or denying those spawns early makes later waves predictable. Effective teams assign one player to watch flanks and another to hold the main funnel — that division consistently improves survivability on higher difficulty waves.
5. Economy & Upgrade Priorities
Wave currency is a resource that compounds across rounds. Early waves require conservative spending: buy core weapons and essential armor first, then invest in utility items (grenades, medkits) as your economy allows. Always save enough to handle potential emergency purchases in the next break. Upgrades that permanently improve damage, magazine capacity, or survivability tend to outvalue one-off consumables in long runs, but consumables save lives in clutch waves — strike a balance based on your playstyle.
Prioritize upgrades that match your role. A support player should place early upgrades into healing efficiency or cooldown reduction; a damage dealer should invest in weapon damage and accuracy. If the game has shared team funds, coordinate purchases to avoid redundant spending. When in doubt, funnel funds into one or two players rather than spreading upgrades thinly across the entire team.
AUTODOC: The Smart Way to Buy Car Parts Online with Ease
6. Solo vs Team Play
Solo runs demand self-sufficiency. Your loadout should include both crowd control and a reliable escape method; rely on traps and defensible map spots to extend survival time. Team play emphasizes role specialization and communication. Use clear callouts for special enemies, request resource sharing when needed, and synchronize ultimate abilities or high-impact items to clear boss waves. A coordinated team can survive higher-level waves with less optimal gear than an uncoordinated team with superior loadouts.
Play to the strengths of your group: if you have a skilled sniper, build around maintaining sightlines; if you have an engineer, augment fortifications aggressively. Good teams practice wave rituals—who buys what, where to fall back, and when to save ultimates. These rituals remove hesitation during high-pressure waves and are far more important than individual aim in late-game success.
7. Advanced Strategies & Endgame
Late waves introduce multiplier effects: increased spawn density, tougher specials, and reduced downtime. Advanced strategies include controlled kiting (leading zombies through traps), bait-and-switch using decoys, and stacking damage-over-time effects for attrition. Familiarize yourself with boss mechanics — some bosses have distinct phases and telltale animations that indicate when they are vulnerable. For endgame, aim to convert temporary advantages (explosive barrels, environmental hazards) into consistent kill throughput by designing loadouts and positions that exploit those hazards wave after wave.
Speedrun tactics can also be effective: skip non-essential objectives to preserve resources for boss waves, and use high-burst weapons to collapse key threats quickly. However, this increases risk; only consider high-risk strategies if you have practiced fallback procedures and have a consistent team composition.
Section lead-in: The sections above equip you with a structured approach to gameplay. Below are frequently asked questions — practical, concise answers to common problems players face while surviving Zombie Waves Game.
FAQs
1. How do I survive past wave 20?
Answer: Focus on economy and role specialization. Invest early in reliable weapon upgrades, secure a defensible choke, and coordinate with teammates on who buys which utility. Prioritize headshots, neutralize special enemies first, and always keep at least one healer or medkit in your kit for emergencies.
2. Which weapons are best for crowd control?
Answer: Shotguns with wide spread, grenade launchers, flamethrowers, and weapons with explosive or incendiary ammo excel at crowd control. Pair these with a high-precision primary to handle armored or ranged specials that survive the AOE attacks.
3. Is it better to play solo or with a team?
Answer: Team play is generally more efficient for high-wave runs because roles can be specialized. Solo play is viable for casual runs or practice but requires a versatile loadout and conservative spending. Choose based on your goals and the availability of reliable teammates.
4. How should I allocate upgrades early on?
Answer: Purchase a dependable primary weapon and basic armor first, then invest in magazine size and damage. Upgrade healing or cooldowns for supports. Avoid splurging on expensive one-off items unless the wave composition demands it.
5. What are common mistakes new players make?
Answer: Common errors include tunnel visioning on a single enemy, failing to cover flanks, overspending early, and ignoring special enemy mechanics. Practice situational awareness and prioritize threats based on damage potential and disruptive ability.
6. Any tips for dealing with boss waves?
Answer: Learn boss patterns, conserve burst damage for vulnerable phases, and use environmental hazards if available. Maintain positioning to avoid AOE knockbacks and assign at least one player to handle adds while others focus on the boss.
7. How can I practice aim and reaction time effectively?
Answer: Use practice ranges or low-risk waves to focus on headshots and recoil control. Train with targets that mimic moving specials, and review failed runs to identify recurring mistakes. Small daily practice sessions produce steady improvement.


