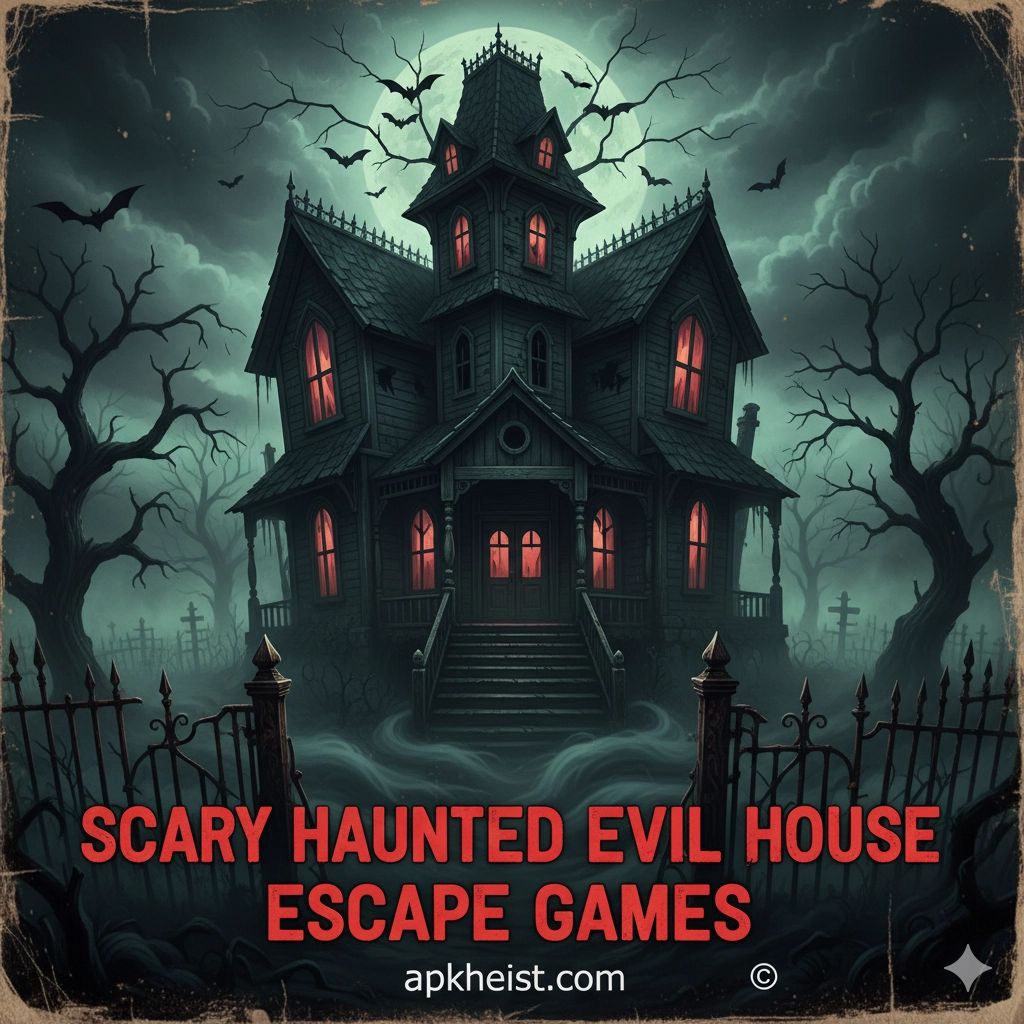
Long intro: In Scary Haunted Evil House Escape Game you explore a sprawling, malevolent house full of puzzles, hidden passages, and uncanny enemies. To beat this game you’ll need observation, inventory management, stealth, and the nerve to enter rooms other players avoid. Below you’ll find a compact roadmap of key objectives and deep dives into major sections of the house, plus FAQs to solve common roadblocks. Along the way we’ll naturally link you to related genres to broaden your gameplay perspective: Adventure Action Arcade Casual Strategy Simulation Puzzle.
Column intro: The list below highlights the main objectives and tactics for each critical zone in the haunted house. Click any item to jump to the full breakdown.
1. Front Hall — First Impressions 2. Kitchen of Whispers — Tools & Traps 3. Library of Secrets — Puzzles & Lore 4. Basement Ritual Room — High Risk 5. Attic Chase — Stealth & Escape 6. Hidden Nursery — Key Items 7. Master Suite Finale — Confronting the Evil
1. Front Hall — First Impressions
Short description: The Front Hall is where tension is built and first clues appear. Learn to read environmental hints here.
The Front Hall establishes the house's rhythm: long shadows, barely audible footsteps, and a map of nearby rooms. Your first task is to search without rushing. Check coat racks, portraits, and floorboards — many games hide a fuse, a small key, or a torn note here. If there’s a playable flashlight or candle, conserve its fuel; most light sources are limited. Pay attention to sound cues (soft hums, children’s whispers) — these usually indicate nearby puzzles or enemy patrol routes. Use the hall’s furniture to break line of sight when enemies patrol; crouch behind large objects and use quick peek mechanics to scope the next corridor. Finally, mark any locked doors and their lock type (padlock, keyed latch, puzzle lock) — noting these early helps you prioritize which rooms to revisit once you’ve collected tools.
2. Kitchen of Whispers — Tools & Traps
Short description: The kitchen contains useful items and lethal traps; approach methodically and gather crafting materials.
The Kitchen of Whispers blends resource gathering with hazard navigation. Expect tripwires, falling pans, and cursed utensils that animate if you steal too openly. Start by clearing visible hazards: cut power to electrified countertops if possible, and close flammable gas knobs before lighting anything. Search drawers and cabinets for useful consumables (bandages, matches), mechanical parts (gears, screws), and ingredients that combine into antiseptics or distractions. Many kitchens include a hidden pantry behind a false wall or a fridge with a hidden compartment — tapping suspicious tiles or following a trail of small blood droplets often reveals such secrets. If the game supports crafting, the Kitchen is the primary early-craft zone: combine glue + cloth for a makeshift repair kit, or oil + rag to silence moving parts temporarily. Importantly, don’t loot everything at once; some items trigger scripted spawns when disturbed. Learn the spawn patterns by testing — take one item, listen for changes, then retreat to observe if an enemy is drawn.
3. Library of Secrets — Puzzles & Lore
Short description: The Library holds the game’s deeper puzzles and backstory; careful note-taking pays off.
The Library of Secrets is typically the game’s cerebral core: book ciphers, rotating shelves, and riddles tied to the house’s past. Start by reading any available journals or scrap papers — authors often embed cipher keys and sequence clues. When you encounter a bookshelf puzzle, examine spines for mismatched fonts or worn titles; these are frequently the correct sequence. Use environmental cross-referencing: a painting in the hall may name the family members whose initials correspond to book orders. If the game offers a journal/diary mechanic, annotate every new piece of text — puzzles often require combining distant hints. Additionally, audio logs can be crucial: record their timestamps mentally or with in-game bookmarks. Many players make the mistake of brute-forcing library puzzles; the house punishes impatience with spawning enemies or locking exits. Instead, solve methodically and keep an escape path open (don’t push heavy shelves into corners unless you're certain you won’t need that route later). The Library also contains optional lore that unlocks alternate endings — if you’re completion-minded, plan extra time to decode secondary riddles.
4. Basement Ritual Room — High Risk
Short description: Dark, cramped, and ritual-stained, the Basement is where risk multiplies; go in prepared for combat and puzzles.
The Basement Ritual Room is designed to punish mistakes. Expect constrained movement, environmental hazards like pools of corrosive liquid, and enemies that can detect sound more reliably. Before descending, equip any noise-dampening items and stock up on trauma kits. In many designs the basement contains a central altar puzzle requiring a sequence of relic placements — these relics are scattered across the house and often guarded. When working the altar, ensure you’ve cleared nearby rooms first; triggering the altar usually spawns waves of enemies or begins a timer. Use choke points to your advantage: narrow staircases let you funnel attackers and conserve ammo or trap uses. If stealth is an option, use it to collect relics one by one rather than all at once. Watch for environmental clues — salt lines, pentagrams, and burnt sigils often indicate which relic belongs where. Successfully solving the basement puzzle usually unlocks the Master Suite or a key to the roof escape; failing it can drastically increase enemy aggression.
5. Attic Chase — Stealth & Escape
Short description: The Attic is typically a high-adrenaline chase sequence; prioritize stealth over confrontation.
The Attic Chase sequence is designed to break the player’s composure. Narrow beams, sudden drops, and fast-moving enemies make this area unforgiving. If the game offers a sprint/stamina mechanic, conserve it for short bursts — sprinting from start to finish often fails because the attic includes traps that stop you mid-run. Instead, use cover, timed dashes, and sound distractions (thrown objects, activated clocks) to reroute pursuers. Memorize the floor layout quickly: attics often contain multiple false floors and loft ladders leading to safe cubbies. If you find a window escape, check the external drop carefully — some games punish rooftop escapes with fall damage unless you use a rope or mattress cushioning found earlier. The attic may also hide a critical key item (a blood-stained music box, torn photograph) that unlocks the final confrontation; if you’re chased, prioritize securing such items if they’re needed for the endgame. Practicing runs will reduce panic errors; on repeated attempts you’ll learn which sounds mean incoming danger and which are ambient creaks you can ignore.

6. Hidden Nursery — Key Items
Short description: The Nursery seems innocuous but hides pivotal keys and emotional lore — search carefully and listen to lullabies.
The Hidden Nursery is where the house’s emotional weight is concentrated: scattered toys, a music box, and childlike scribbles that double as puzzle clues. Look behind wallpaper flaps and inside toy chests — often a skeleton key or a coded charm is concealed inside a toy that plays a tune. Many games incorporate melody puzzles here: replicate the music box’s tune on a nearby instrument to unlock a secret compartment. The Nursery also tends to offer moral choices; interacting with certain objects may change NPC behavior or reveal alternate endings. Keep a silent approach in this room — automated triggers often cause the nursery to "awaken" if too many objects are disturbed at once. If you need to trade a resource for a key (e.g., give up a healing item to an apparition), weigh whether the key opens a main-path door or only optional content. For completionists, the Nursery usually contains collectible lore items that fully explain the house’s backstory.
7. Master Suite Finale — Confronting the Evil
Short description: The Master Suite is the finale: combine everything you learned, use your best items, and exploit enemy patterns to survive.
The Master Suite Finale ties all threads together: puzzles you solved earlier often provide the tools or hints needed here. Expect a multi-stage encounter: a puzzle to weaken the antagonist, a chase or combat phase, and a final escape decision that determines the ending. Start the encounter with a safe setup: position healing items, set traps if available, and ensure your most reliable defensive tools are ready. During combat phases, exploit knockback, stagger frames, or elemental weaknesses you discovered in the house (e.g., salt wards, light-based damage). If the boss uses phases, observe and memorize attack telegraphs in the early moments rather than going all-in — surviving phase one with minimal resources makes later phases manageable. For the puzzle phase, recall the Library and Nursery clues: often a portrait’s eyes, the music box melody, or an altar relic is required to complete the ritual. After you’ve completed the final sequence, choose your exit based on what you value: immediate escape for safety, or a risky confrontation for an alternate ending. Save any final choice until you understand how it changes the ending if you care about multiple outcomes.
FAQ 1: How do I save my progress?
Most versions use fixed save points (e.g., lanterns or altars) or an auto-save after major events. Save whenever the game allows and treat manual save spots as precious — clear the nearby area first to avoid being spawn-locked while saving.
FAQ 2: What’s the best way to deal with noisy enemies?
Noisy enemies often home in on sound. Use soft steps, crouch movement, and throwables to create distractions. If you must fight, lure them into environmental hazards or bottlenecks where you can use traps or limited ammunition efficiently.
FAQ 3: Are there multiple endings?
Yes — many haunted-house escape games include alternate endings determined by choices (save vs. sacrifice), collectibles found, or puzzles completed. To unlock all endings, replay and pursue different moral or exploration choices.
FAQ 4: Which items are safe to discard?
Discard only excess consumables once you’re certain you won’t need them; carry at least one medical item and one noise-maker for emergencies. Keep keys and unique relics even if they seem optional — they often open late-game doors.
FAQ 5: How can I improve stealth performance?
Upgrade or find noise-dampening gear when available, move slowly, use shadows and furniture for cover, and time your movements with enemy patrols. Observing enemy sight cones and listening for audio cues is essential.
FAQ 6: I’m stuck on a puzzle — any tips?
Take notes and photograph in-game clues if possible. Cross-reference room items (paintings, books, music) and listen for audio cues. If stuck, return later with new items — many puzzles are intentionally multi-step and require components from different rooms.
FAQ 7: Is combat optional?
In many designs, combat can be minimized with stealth and distraction, but some scripted encounters require direct action. Prioritize avoidance where possible and conserve weapons for unavoidable fights or boss phases.
Closing note: Mastering Scary Haunted Evil House Escape Game takes patience, careful observation, and smart resource use. Revisit locked areas after obtaining new tools, listen for audio hints, and don’t be afraid to experiment — many hidden pathways and alternate endings reward curiosity.